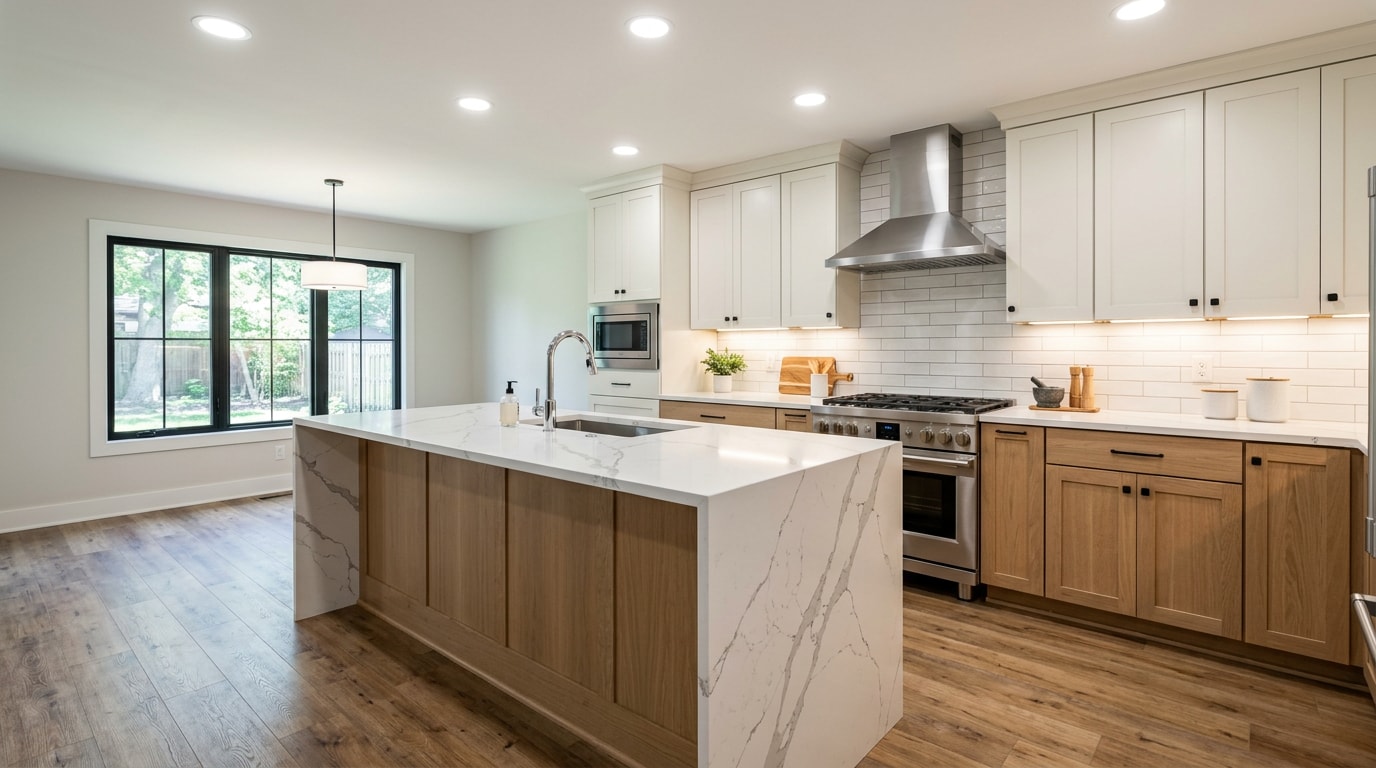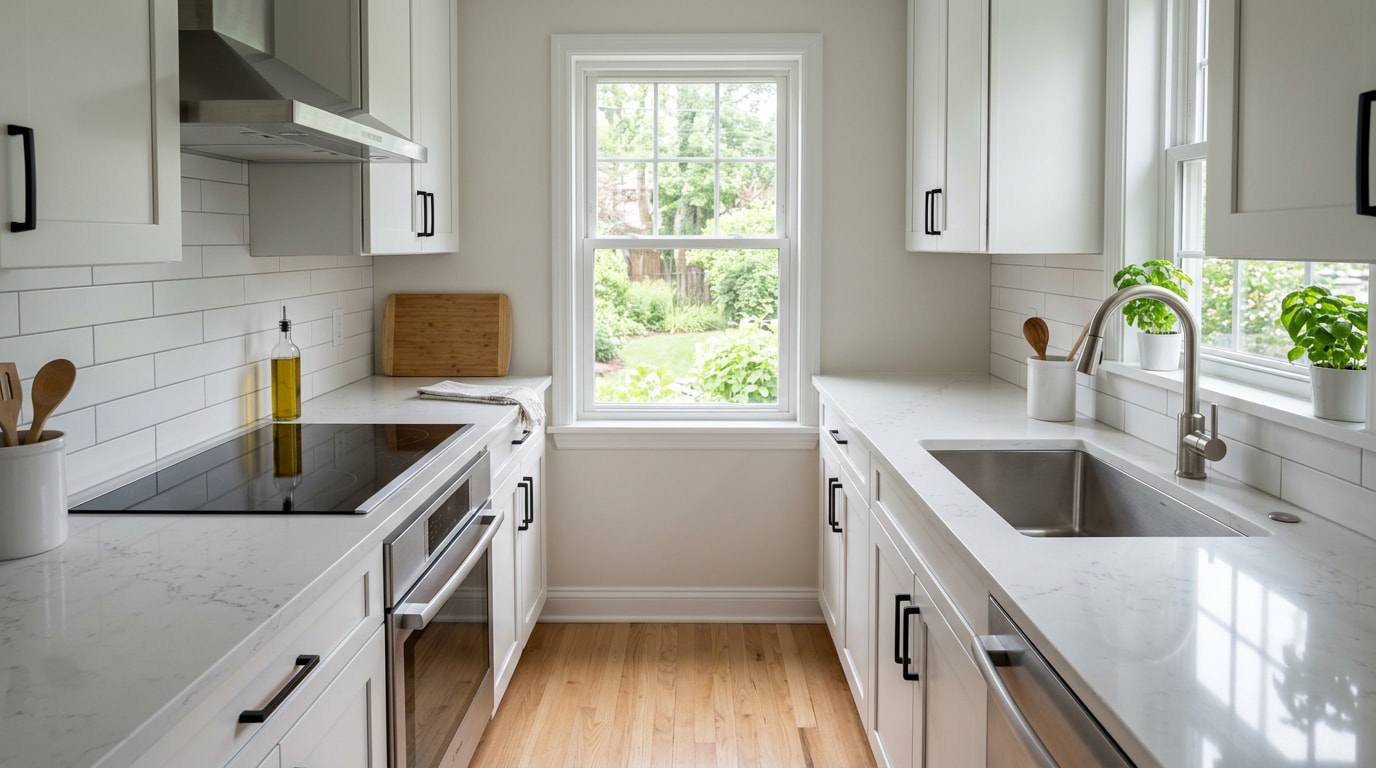

Knowing how to prepare for a kitchen remodel comes down to four things you finish before demo day: the schedule, the permits, the packing and a stand-in kitchen. Get those right and six weeks without a kitchen feels organized instead of chaotic. Here is the order to do them in, starting about eight weeks out.
Your Kitchen Remodel Prep Countdown
Most prep guides hand you a pile of tips with no dates attached. This is the sequence our crews at GS Design and Build actually work backward from on a typical full kitchen.
| When | What you handle |
|---|---|
| 8 weeks out | Confirm scope, final selections and lead times. Verify your contractor's license and insurance. |
| 6 weeks out | Permit application submitted. Appliance and cabinet orders placed and confirmed in writing. |
| 4 weeks out | Start packing in stages. Purge what you will not put back. Decide stay or go. |
| 3 weeks out | Build the temporary kitchen and live in it for a few days as a test run. |
| 2 weeks out | Confirm delivery dates, dumpster placement and crew parking. Arrange pet care. |
| 1 week out | Take down window coverings, art and shades. Pack the last of the cabinets. |
| 48 hours out | Clear the room completely. Move the fridge. Hang dust containment. Empty the pantry. |
The single most common prep failure we see is the top shelf problem: homeowners pack the lower cabinets early, then leave the upper cabinets and the pantry full until demo morning. Crews end up standing around while boxes get filled, and that time is on your invoice.
Step 1: Lock Down the Timeline With Your Contractor
Your first task is not packing. It is a sit-down to settle the schedule, budget, daily crew hours and who handles cleanup each day. Construction gets messy, so clarify with contractors early on who will handle cleanup and when it will happen.
Ask for the timeline in writing. Basic kitchen renovations tend to run roughly four to six weeks of construction, while large remodels that move walls or plumbing can stretch toward three months.
That number is not trivia. It tells you exactly how long your household lives without a sink.
Also verify who you hired before anything is demolished. In California you can look up a contractor license to verify information, including complaint disclosure , through the Contractors State License Board. Do it once, early, and keep the printout.
If your remodeler is vague about the schedule, treat that as information.
Not sure what your scope actually includes? Review what a full kitchen remodeling project covers before you lock in dates.
Step 2: Confirm Permits, Codes and Inspections
Handle this before demo day, not during. The sequence is simple: talk to your local building department, pull the permits, build to code, schedule inspections at the right milestones.
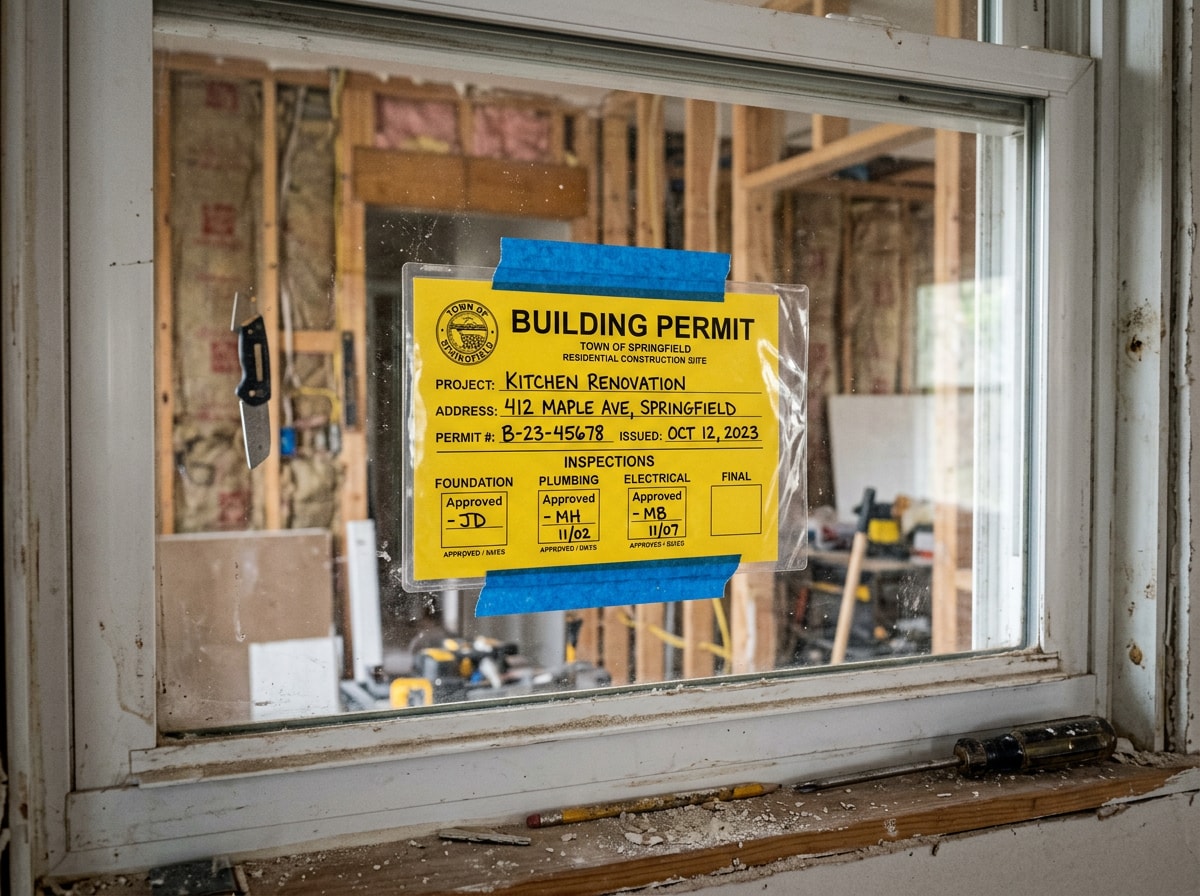
A building permit gives you legal permission to start construction in accordance with approved drawings and specifications. Requirements are set locally, and the best way to find out if you need one is to call your local building department , per the International Code Council.
On most jobs your contractor files and schedules. The permit is still tied to your property, so ask to see the card posted on site.
A quick rule of thumb for kitchens: like for like cabinet and counter swaps often need little or nothing, while moving plumbing, adding circuits, relocating gas or touching a wall almost always triggers a permit and inspections.
Step 3: Empty and Pack the Kitchen
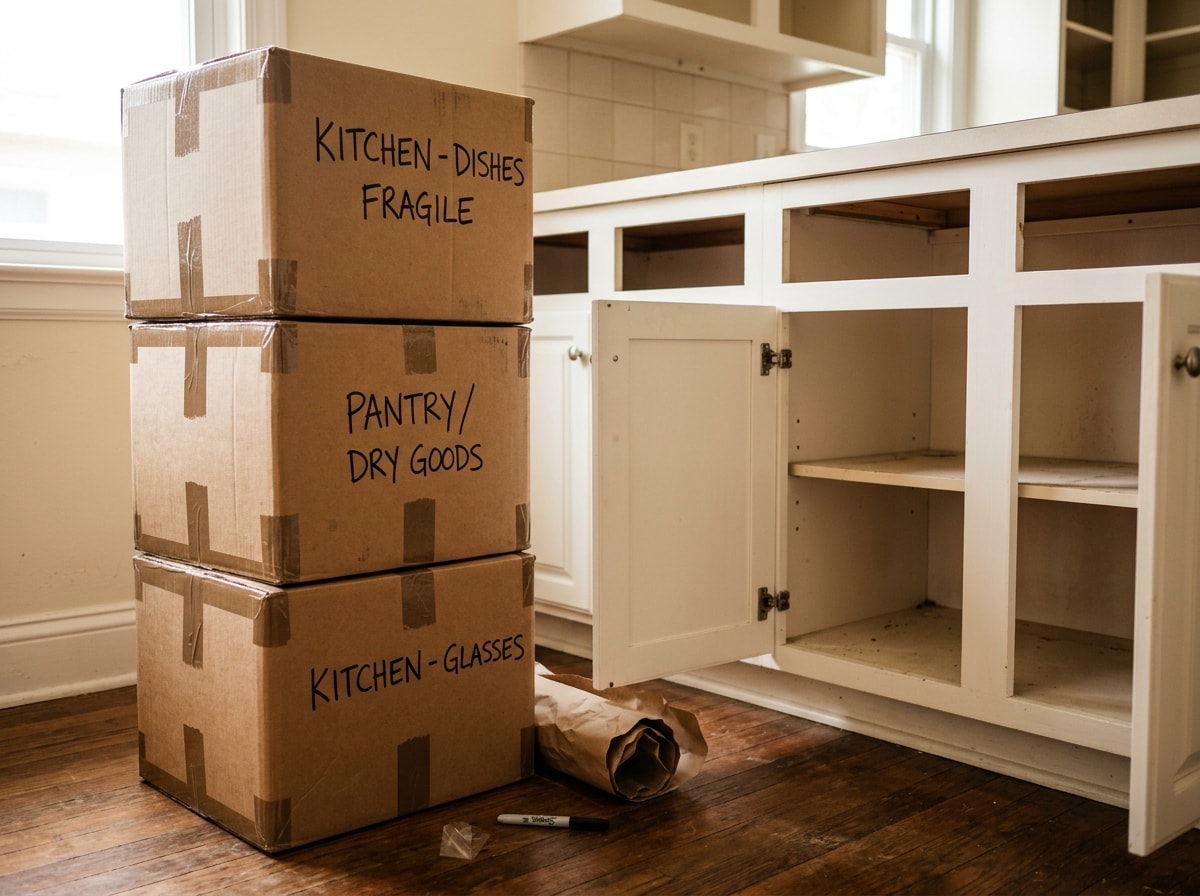
The room has to be completely empty when crews arrive, including the pantry and the cabinet above the fridge. Start weeks out and work in stages. Packing the night before demo is how things get broken.
Pull the essentials first
Before a single box gets taped, set aside what you genuinely use daily:
- Coffee maker and kettle
- One or two pots and a skillet
- Knives, cutting board, mixing bowl
- Can opener, peeler, utensils, oven mitts
- Measuring cups and basic spices
- Disposable plates and cups, foil, storage containers, cleaning supplies
These go straight to your temporary setup, not into storage.
Pack by category, not by cabinet
Gather supplies first: boxes, packing paper, tape, masking tape, quart and gallon bags, markers. Chasing tape mid pack wastes an afternoon.
Then sort by type. Bag flatware by kind, one bag for forks, one for knives, one for spoons, so unpacking takes minutes instead of a weekend. Wrap fragile pieces individually and write contents on the outside of every box.
Purge while you pack. Roughly a third of what comes out of a kitchen never earns its way back in, and new cabinets are the wrong place to store things you have not touched in six years.
Take down everything on the walls
Remove blinds, curtains, rods and wall decor. Put hardware in plastic bags labeled with masking tape, and clean and dust anything you plan to reuse in the remodeled kitchen.
Also pull glass shades off light fixtures, plus outlet covers, heat registers and any remaining window coverings. Cover computers and electronics, cover furniture in adjacent rooms, and take down pictures and wall hangings nearby that could be knocked loose during the work.
Step 4: Set Up a Temporary Kitchen
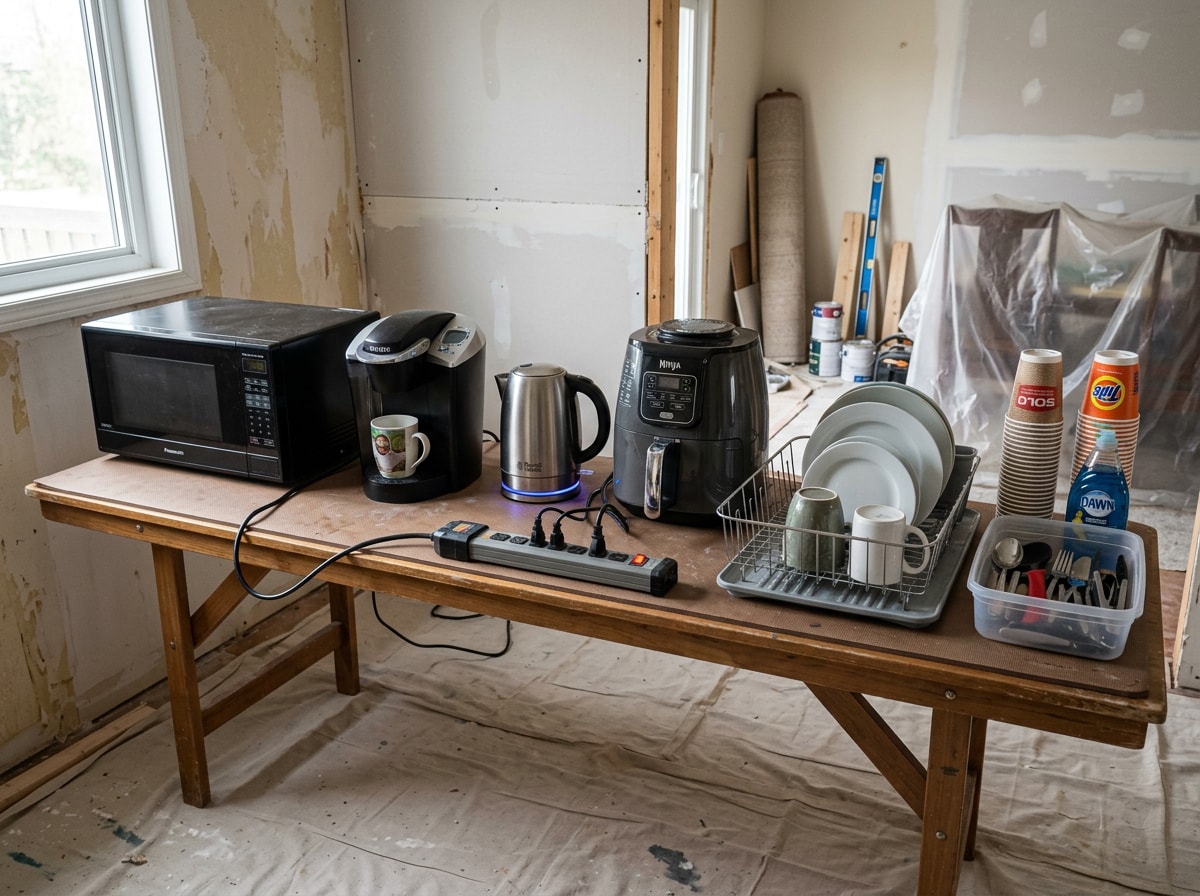
Pick a space well away from the work zone, then walk the full meal cycle in it: store, prep, eat, wash, trash. A large table is helpful to hold small appliances and serve as a small prep area.
Test it for two or three days before demo. You will find the missing item fast, and it is always the same one: a dish drying rack.
Find a spot for the refrigerator
Garage, dining room or hallway all work. If the main unit cannot move, an undercounter or mini fridge covers a few weeks of cold storage.
Check two things before moving day: a dedicated outlet at the new location, and enough clearance for the doors to swing fully open.
Stock the survival kit
Stock paper towels, dish soap, towels and trash bags, plus disposable plates, cups and utensils. If you are washing pots in a bathroom or utility sink, add a drying rack nearby, and pick a spot for trash and recycling knowing you will empty it more often than usual.
Freeze a week of meals ahead of demo. An air fryer, slow cooker and electric kettle cover most of what you will want to eat, and the grill counts as a second burner.
Step 5: Seal the Work Zone and Control Dust
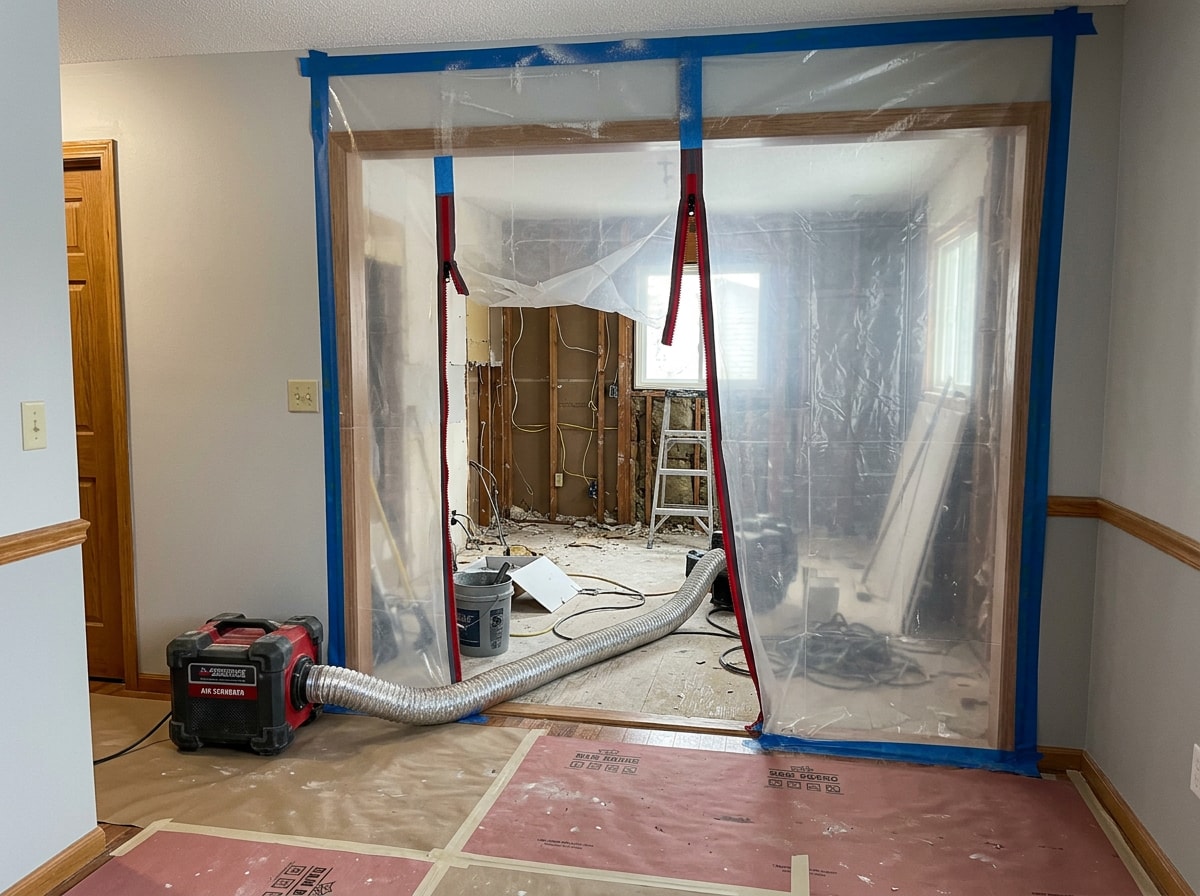
Protect what you are keeping, whether floors, cabinets, appliances or fixtures, then seal the kitchen off from the rest of the house to keep dust and dirt out of other areas.
Cover vents and doorways with plastic where possible, clear out furniture, decor and curtains, and open a window or exterior door for ventilation.
Containment methods are not equal:
| Method | Relative cost | Holds up for | Notes |
|---|---|---|---|
| Plastic sheeting and tape | Lowest | Days | The tape seal at the top edge fails first, usually where crews push through daily |
| Zippered dust barrier | Moderate | Weeks | Adds a real door, far better on multi week jobs |
| Negative air machine or air scrubber | Highest, daily rental | Whole job | Pulls dust out instead of just blocking it, worth it for heavy demo or allergy households |
Change your HVAC filter the week demo starts, then again when the job ends.
Two pre demo safety items belong to your contractor, not to you. Old flooring layers should only come up after testing negative for asbestos. And in older homes, the EPA's RRP Rule requires anyone paid to perform work that disturbs painted surfaces in homes built before 1978 to be certified and trained , so ask to see that certification before any interior demolition begins. You can read the requirements on the EPA's lead renovation program page.
Step 6: Decide Whether to Stay Home
There is no universal answer. It depends on scope, budget, timeline and how much usable living space you have away from the kitchen.
Staying home is cheaper and lets you see progress daily. It also means noise from about 8 a.m., dust in rooms you did not expect, and real friction if anyone works from home.
Moving out removes all of that and often speeds the crew up, since they can leave tools staged and run dusty work without stopping. Weigh that against the cost of a rental.
Run the decision against the timeline you agreed to in Step 1. Three weeks is survivable. Three months is a different conversation.
Browse our recent project galleries to see what comparable scopes look like, or check what we build in San Jose and nearby.
Step 7: Handle Pets, Parking and Deliveries
Dogs and cats underfoot are a danger to themselves and to the crew. The best option is a closed room well away from the work, or a pet sitter during a more extensive remodel. Exterior doors get propped open on demo and delivery days, so containment matters more than usual.
Sort the logistics no one thinks about until the truck arrives:
- Where the dumpster sits, and whether your city requires a permit for street placement
- Where four to six trade vehicles park each morning
- Which door crews use, and how floors along that path get protected
- Where appliances and cabinets get stored on delivery, dry and lockable, which for most homes means the garage
Do not take appliance delivery early unless you have that dry storage. A damaged range that sat in a carport is not a warranty claim.
Step 8: Build Two Buffers Before You Start
Backordered materials, hidden conditions behind walls and schedule slips are normal, not proof of a bad contractor. Plan for their existence.
Build a money buffer. We tell clients to hold a contingency of 10 to 15 percent of contract value in reserve, untouched, for surprises found after walls open. Older Bay Area homes tend to hide undersized electrical, rotted subfloor under the sink and vent runs that were never right.
Build a time buffer. Add slack to the agreed schedule, and give your family the later date.
Material costs move the total more than most homeowners expect, so price your surfaces before you set the budget. Our breakdown of the cost to replace kitchen countertops shows how quickly that one line item moves.
Ready to put dates on the calendar? Get a free estimate and we will walk your kitchen and give you a realistic prep timeline before anything is ordered.
FAQ
What should I do before a kitchen remodel starts?
Confirm the schedule and permits, pack the entire room including the pantry, move the refrigerator, set up a temporary kitchen, arrange pet care and parking, and seal the work zone. Start about eight weeks out and work in stages.
How long does a kitchen remodel take?
Plan on roughly four to six weeks of construction for a basic renovation and up to about three months for a large one. Design, selections and material lead times sit outside that window and can add several weeks before demo starts.
Do I need a permit for a kitchen remodel?
Usually yes if you move plumbing, add or relocate electrical circuits, touch gas lines or alter a wall. Cabinet and countertop swaps in the same footprint often need less. Call your local building department to confirm , since requirements are set locally.
Can I live in my house while my kitchen is being remodeled?
Most households do. It works with a temporary kitchen away from the work zone, simple meals, a second sink for dishes and realistic expectations about noise and dust. Whole house scopes and homes with only one bathroom sink make moving out more appealing.
How do I keep dust out of the rest of the house?
Seal doorways with a zippered barrier instead of taped plastic, cover HVAC returns and supply vents in the work zone, protect the path crews walk, run an air scrubber during heavy demo, and change your furnace filter more often than usual.
What should I pack away and what should I keep out?
Pack everything in the kitchen. Keep out only daily use items: coffee gear, one pot and one pan, knives, a cutting board, a few plates and utensils, plus disposables and cleaning supplies. Group them in one labeled bin so nothing gets buried.
How far in advance should I order cabinets and appliances?
Order once your layout is final, typically six to ten weeks before demo, and confirm ship dates in writing. Many crews will not start demo until cabinets have an actual delivery date, because an empty kitchen waiting on backordered boxes is the most expensive kind of delay.
How much does a kitchen remodel cost?
Cost swings widely by scope, region and material choice, so treat any single national average carefully. Cabinetry usually dominates the budget, followed by countertops, appliances and labor. Moving plumbing or electrical adds meaningfully to the total.
How do I start a kitchen renovation?
Define the scope, set a budget with a contingency, hire and align with a contractor on the schedule, confirm permits with your building department, then pack and prep the room. When you are ready, request a consultation and we will map the prep timeline with you.