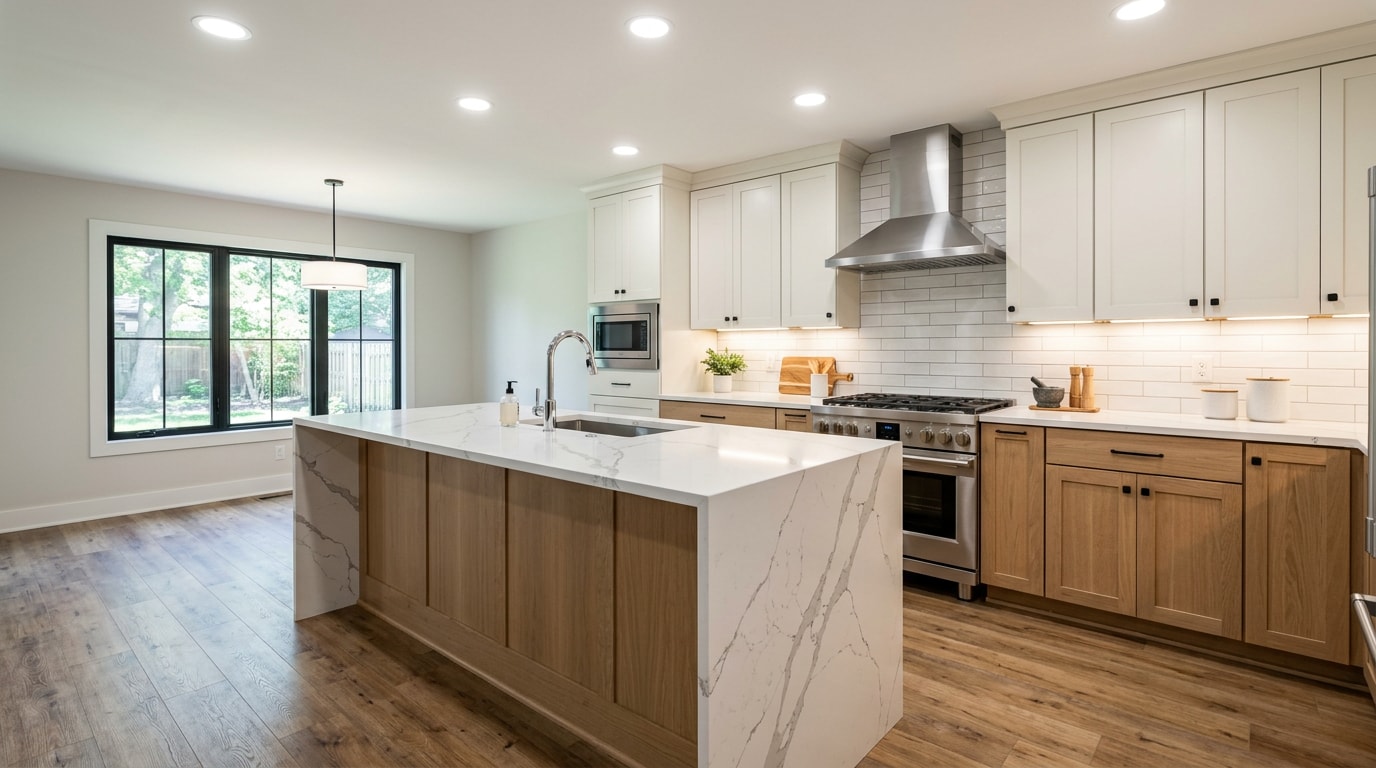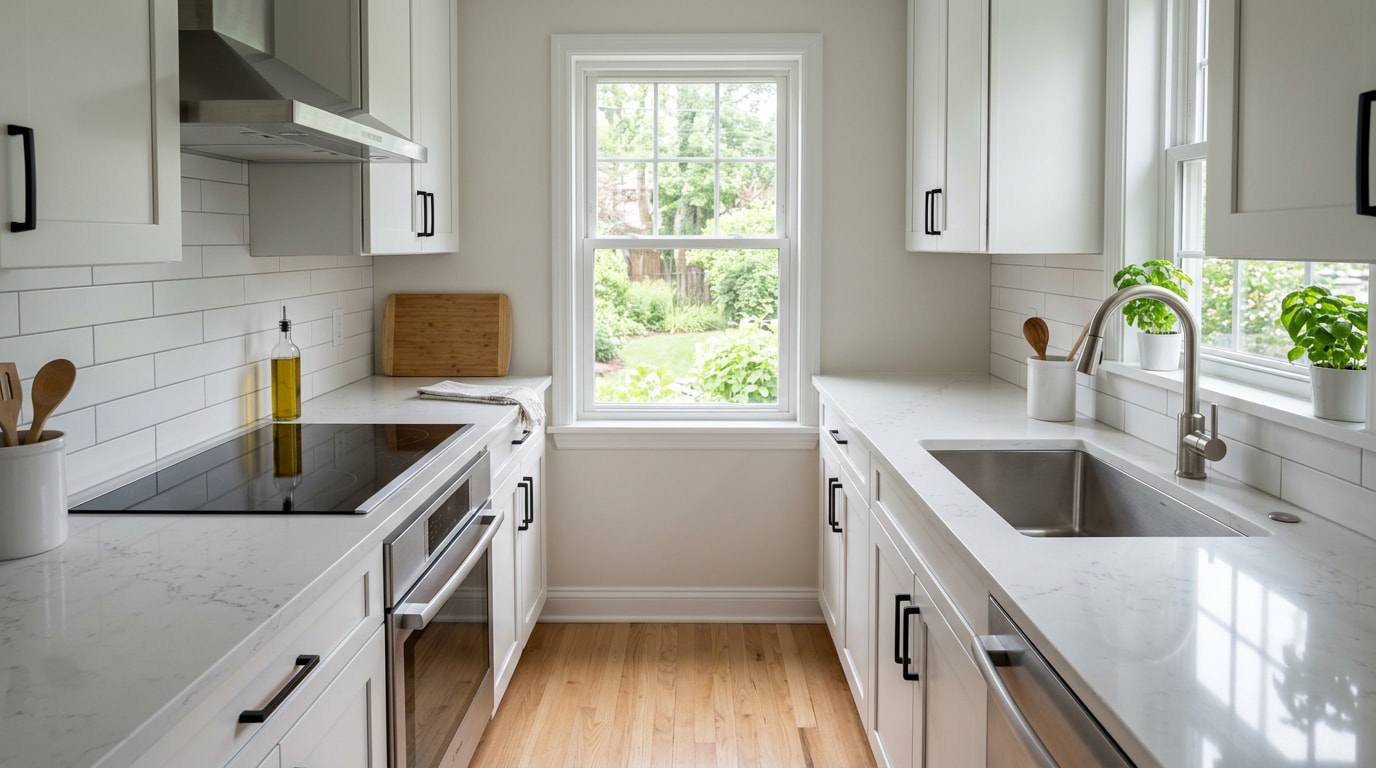
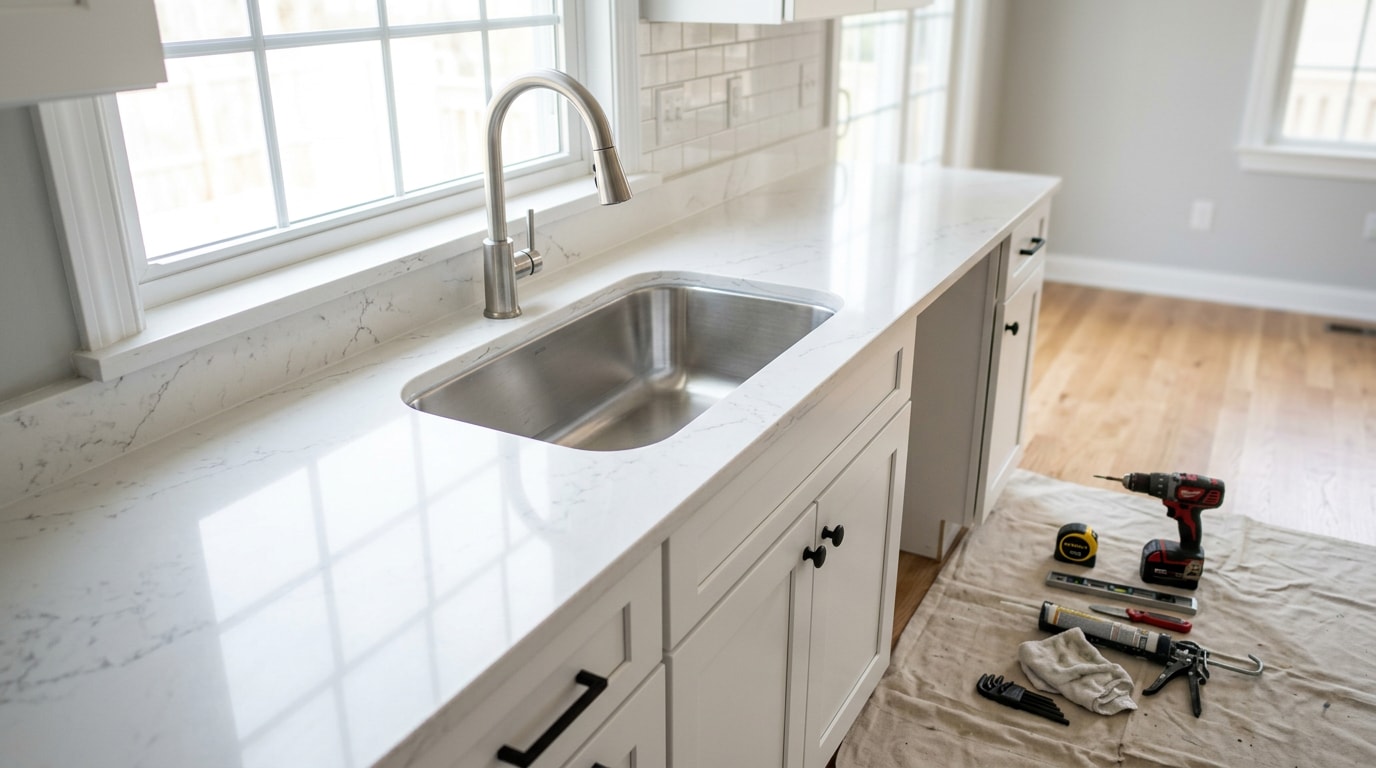
Learning how to install kitchen countertops is realistic for laminate and butcher block, and off the table for slab stone. The difference is not courage, it is whether the material can be cut and fitted on site without a fabrication shop. Here is the full sequence, plus the point where a DIY job turns into an expensive callback.
The Install Sequence at a Glance
- Shut off power and water, then disconnect the sink, disposal and cooktop.
- Remove the old top and backsplash in one piece.
- Level and shim the cabinet boxes.
- Dry fit the new sections and mark your seams.
- Cut to length and scribe the back edge to the wall.
- Join miters for L or U shapes.
- Cut the sink and cooktop openings.
- Fasten the top to the cabinets.
- Set the backsplash, caulk and reconnect the plumbing.
Plan on a full weekend for a laminate kitchen. Setting day alone is usually 2 to 7 hours once the prep is done.
Can You Install Kitchen Countertops Yourself?
Yes, if the material is laminate or butcher block. Both cut, scribe and fasten with standard carpentry tools.
Granite, quartz and quartzite generally cannot. They need shop fabrication, and a slab is heavy enough to injure you or crack under its own weight during a lift. Cutting stone on site also voids most material warranties.
| Material | DIY difficulty | Tools required | Typical weight | 2026 installed cost/sq ft* |
|---|---|---|---|---|
| Laminate | Easy | Circular saw, jigsaw, belt sander | ~5 lbs/sq ft | $25 to $60 |
| Butcher block | Easy to moderate | Circular saw, sander, finish supplies | ~8 lbs/sq ft | $40 to $100 |
| Tile | Moderate | Wet saw, trowel, grout float | ~10 lbs/sq ft | $20 to $55 |
| Solid surface | Hard | Router, seam kit, specialty adhesive | ~7 lbs/sq ft | $55 to $125 |
| Quartz or granite | Pro only | Bridge saw, CNC, suction lifters | 18 to 22 lbs/sq ft | $60 to $160 |
*Directional 2026 ranges. Real pricing swings with region, edge profile and cutout count, so get local quotes before you budget. For a deeper breakdown, read our guide to the cost to replace kitchen countertops.
Field note: where DIY jobs actually fail
On our remodels, the failure point is almost never the long straight cut. It is two things.
The first is square sink cutout corners. We have seen a laminate top crack from a square corner within days of the sink going in. The repair was not a patch, it was a replacement section, roughly $220 in material and a second lost Saturday.
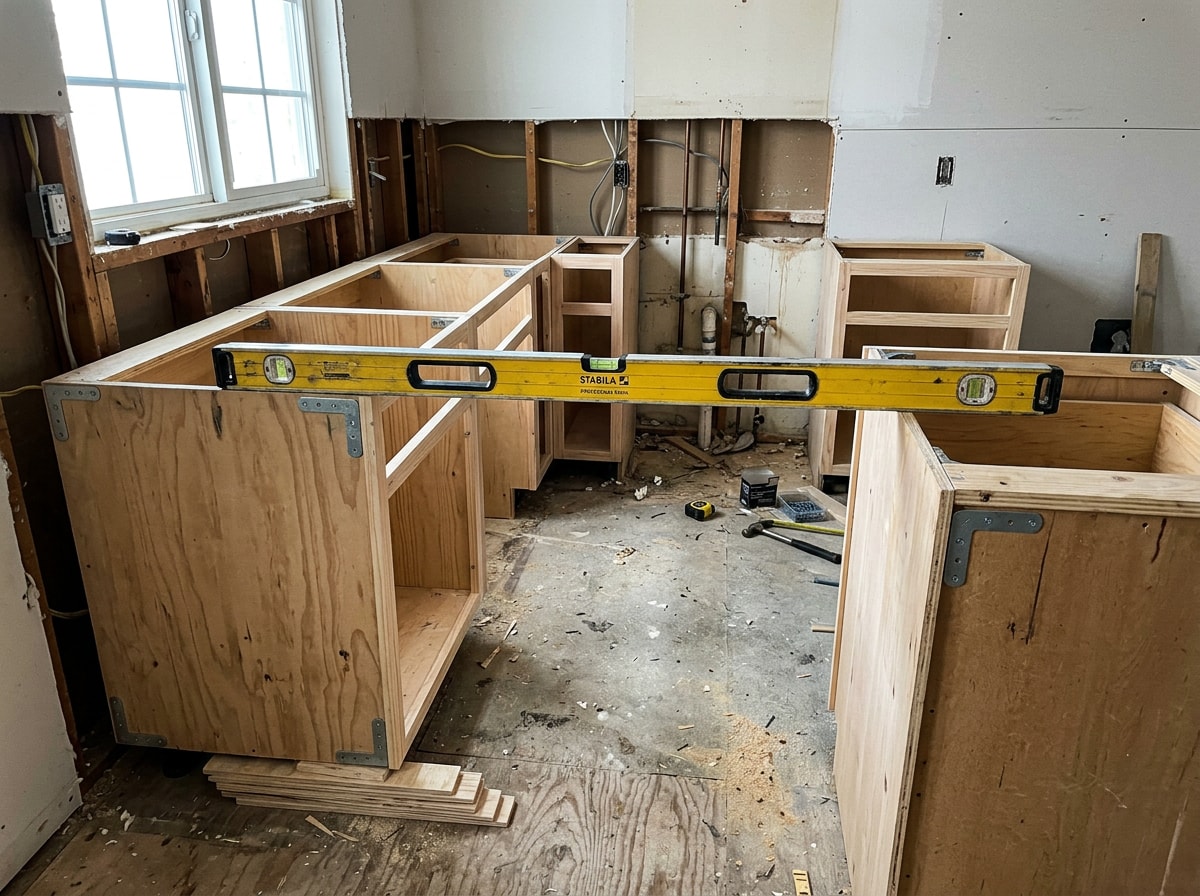
The second is cabinet runs that were never level to begin with. In older Bay Area kitchens we routinely find 1/8 to 3/8 inch of drop across a 10 foot run before we shim. Nothing downstream fixes that. Seams open, drawers bind and a rolling pin tells on you.
If the job needs a slab cut on site, hire a countertop installer instead.
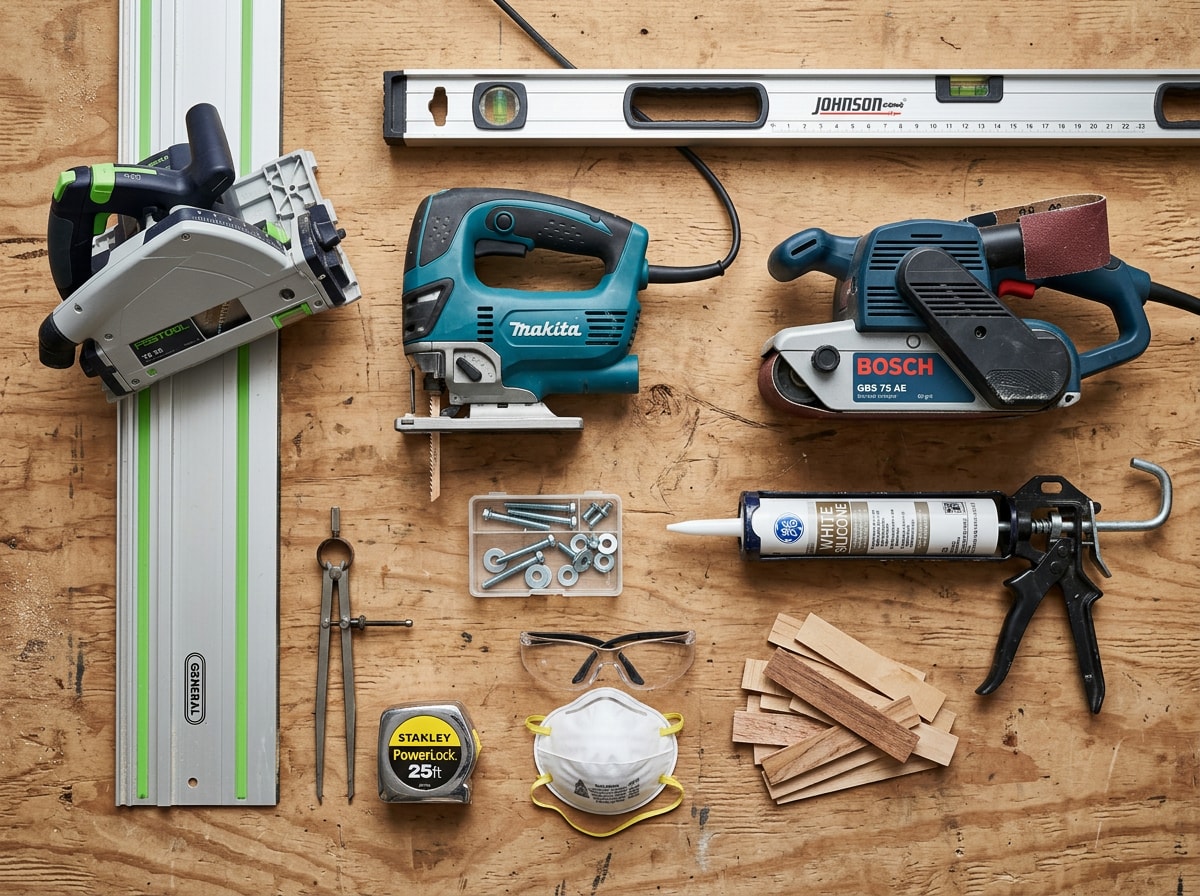
Tools and Materials
Gather everything before demo day. Nothing stalls a countertop replacement like a mid-afternoon hardware run.
Tools
- Tape measure and 4 ft level
- Circular saw or track saw with a fine-tooth blade
- Jigsaw with fine-tooth blade
- Belt sander or block plane
- Scriber compass
- Drill/driver and bar clamps
- Caulk gun and flat file
- Non-contact voltage tester
- Safety glasses, gloves, dust mask
Consumables
- Miter bolts
- 1x2 build-up strips
- Construction adhesive
- 100% silicone or kitchen and bath grade caulk, color matched
- Iron-on edge banding
- #8 pan-head screws
- Painter's tape and shims
Rent the track saw and belt sander if you do not own them. Both cost a fraction of purchase price for a one-off job.
Step 1: Remove the Old Countertop and Backsplash
Start with utilities, not with a pry bar.
Kill power to the kitchen circuits at the panel and confirm it is dead with a voltage tester. Shut the supply valves under the sink. Disconnect the drain trap and supply lines, pull the sink and disposal, then unbolt the range or cooktop.
Score the caulk line where the backsplash meets the wall so you do not tear drywall paper. Get inside the base cabinets and back out the screws through the cabinet corner braces. Check that the dishwasher is not screwed to the underside of the top.
Then lift the old top off in one piece with a helper.
Once the cabinet tops are exposed, look for water staining or soft particleboard near the sink. That is the moment to fix it, not after the new top is down. If a box is swollen or racked, cabinet installation work should happen before any countertop goes on.
Step 2: Level the Cabinets and Dry Fit
Run a 4 ft level across the cabinet tops front to back, side to side, then along the full run. Shim under the cabinet base or on top of the rails until everything reads flat.
Now measure and sketch. Standard base boxes are about 24 inches deep, while stock laminate tops run about 25 inches. That gives you a 1 to 1-1/2 inch front overhang. Confirm at least 1/2 inch of clearance past the drawer fronts so they swing free.
Record every dimension on paper, including sink and cooktop cutout locations.
Then dry fit. Lay all sections in place unfastened. Put factory edges at the exposed ends where they show, and land seams where two base cabinets meet so the joint reads as intentional.
Step 3: Cut to Length and Scribe to the Wall
Lay painter's tape over the cut line to stop the laminate from chipping. Cut from the backside with a fine-tooth blade, or from the top with a track saw. Clamp a straightedge as a guide, because freehand cuts wander.
File the fresh edge in one direction only. Newly cut laminate is sharp enough to slice a palm.
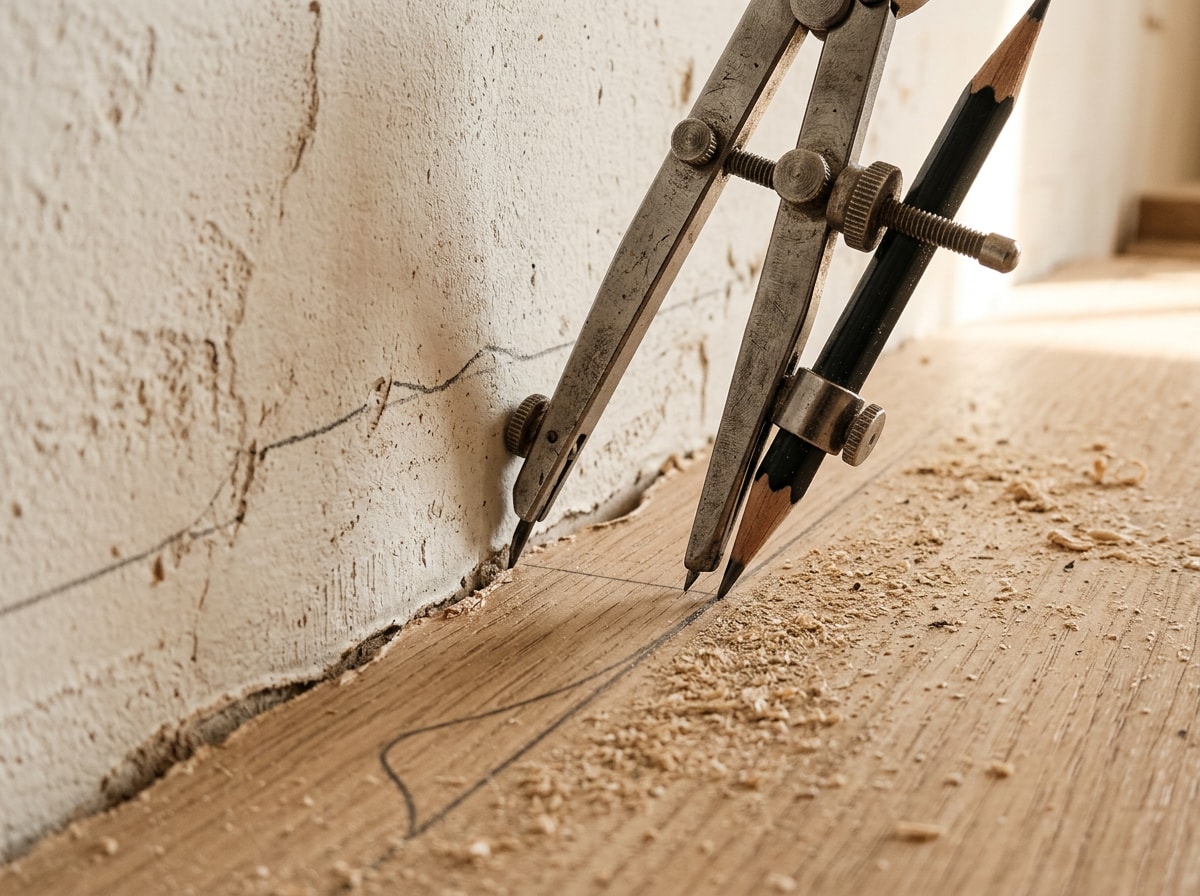
Walls are almost never straight or truly square, so scribing is where the fit is won. Push the top back against the wall, set your scriber compass to the widest gap, and trace the wall contour onto the backsplash scribe edge. Take the line down with a belt sander or block plane, test, and repeat in small passes until the gap closes.
Cutting stone, quartz or tile instead? That dust is a serious health hazard. Follow OSHA's respirable crystalline silica rules for construction, which cover wet cutting, dust collection and respirator use.
Step 4: Join the Miters for L or U Shapes
Dry join the corner first and check the fit before any final scribing.
When it is right, run a bead of sealant along both mitered edges, then snug the miter bolts underneath. Snug, not cranked.
Tap the seam flush with a scrap block and a mallet. Sight down the front edges to confirm they align, then tighten fully. Over-tightening crushes the particleboard substrate and leaves a permanent ridge you will feel with a fingertip forever.
Wipe excess adhesive off the surface before it cures. If your corner cabinet has a solid top, you may need access holes in it to reach the bolts.
Step 5: Cut the Sink and Cooktop Openings
Template in this order of preference: the fixture manufacturer's paper template, the old countertop, or the fixture traced upside down on the surface.
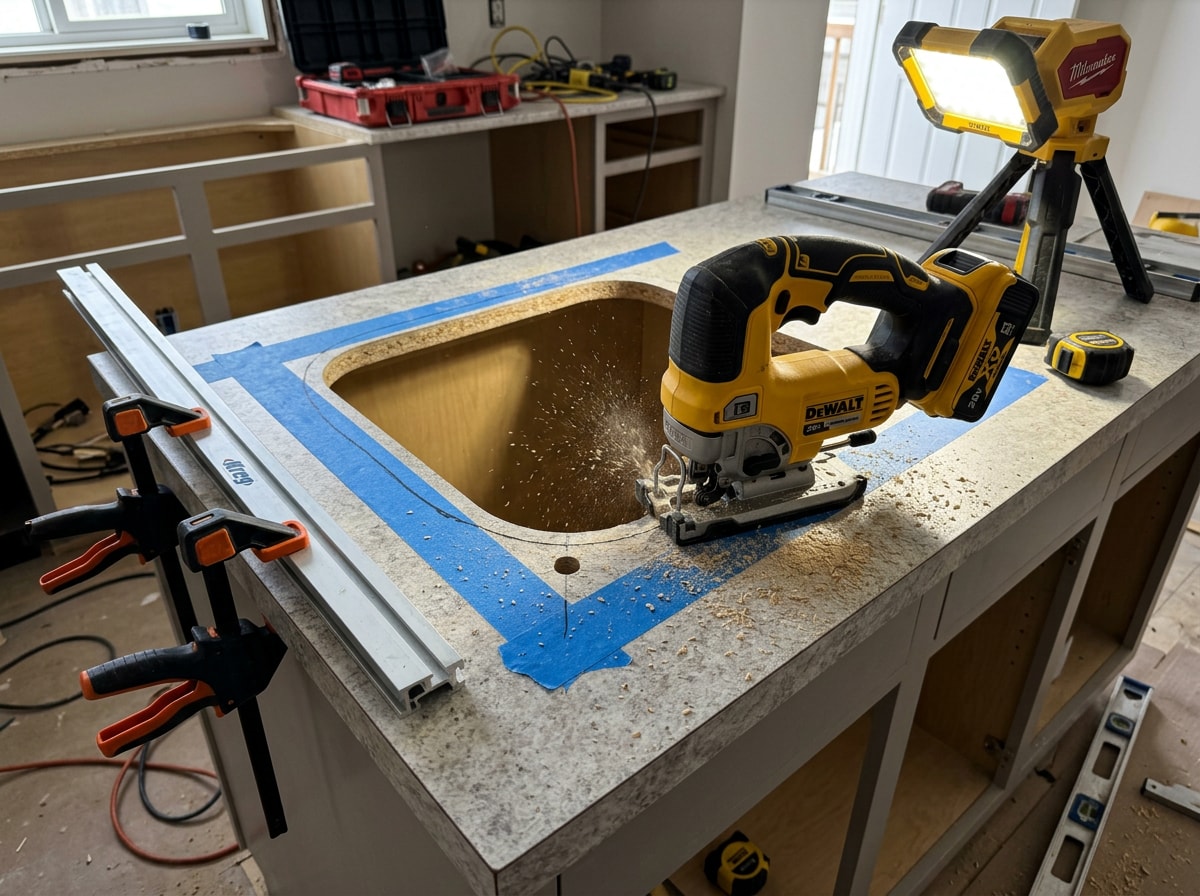
Mark from the underside where the design allows. Bore a starter hole well inside the line. Cut roughly 1/4 to 3/8 inch inside the traced rim with a fine-tooth jigsaw blade so the rim still covers the opening.
Round every corner with a generous radius. Square corners concentrate stress and are exactly where cracks start.
Two details most guides skip:
- Wrap the edge of a rangetop cutout with two layers of heat-conductive aluminum tape.
- Add support blocking across a wide sink opening before you set a heavy cast iron basin.
Always defer to the fixture manufacturer's cutout spec over any generic dimension.
Step 6: Fasten the Countertop to the Cabinets
If the top needs to sit higher for drawer clearance, screw 1x2 build-up strips flat to the cabinet tops first, then set angle brackets inside the cabinet just below the strip.
Start with the longest run.
- Stone and solid surface: beads of construction adhesive on the cabinet tops and rails.
- Laminate: steel angles roughly every 3 feet, plus #8 pan-head or 1-1/4 inch screws driven from below.
- Measure your substrate thickness before driving anything so a screw tip never pokes through the finished surface.
Overhangs need real support. Anything projecting past the material's allowable unsupported span needs brackets, corbels or steel plate. The Natural Stone Institute technical resource library publishes the dimension stone guidance worth checking before you commit to a breakfast bar.
Planning a bigger change than the counters alone? Our kitchen remodeling team sequences cabinets, counters and plumbing so the trades are not fighting each other. Get a free estimate before you order material.
Step 7: Backsplash, Caulk and Plumbing Reconnect
Butter the back of the backsplash with construction adhesive, press it into place, lay a silicone bead along the wall to counter joint, and brace it until the adhesive cures.
Caulk with 100% silicone or a kitchen and bath grade product matched to the dominant tone of the top. Pull the bead in one continuous motion and tool it with a damp rag. Bowed wall gaps get filled the same way.
Then finish out:
- Set the sink and cooktop, and run silicone around the rims.
- Reconnect supply lines and the drain trap.
- Run water and check every joint for leaks twice, once dry and once after a full basin drains.
- Rehang doors and drawers.
Trap and drain work is code regulated. Check your configuration against the International Residential Code plumbing provisions or your local building department, because some jurisdictions require a permit or a licensed plumber for the reconnect.
Give caulk and adhesive their full cure time, typically 24 hours per the manufacturer's instructions, before the surface gets wet or loaded.
When to Call a Pro Instead
Hand it off when any of these are true:
- The material is granite, quartz or quartzite.
- The run is longer than 10 feet and needs a seam that will be visible.
- Cabinets are out of level by more than about 1/4 inch and need reworking.
- The layout includes an unsupported island overhang.
- Your jurisdiction requires a permit for the plumbing reconnect.
GS Design and Build handles countertop and full kitchen work across the Peninsula and South Bay, including San Jose and Palo Alto. See finished work on our projects page, or start at our homepage to browse services.
FAQ
Can you install your own countertops?
Yes, with conditions. Laminate and butcher block are DIY friendly for anyone comfortable with a circular saw. Stone needs a fabricator. The gating skills are leveling cabinets, sanding a clean scribe line and fitting to walls that are not square.
How long does it take to install kitchen countertops?
Setting day usually runs 2 to 7 hours for a typical kitchen. End to end is different: templated stone commonly takes 1 to 3 weeks because of shop fabrication lead time. A DIY laminate job realistically fills a full weekend including demo and plumbing.
How much does it cost to install kitchen countertops?
In 2026, labor alone commonly lands around $10 to $35 per square foot. Installed material runs from roughly $25 per square foot for laminate to $160 or more for premium stone. Regional spreads are wide, so verify against local quotes.
Can you install new countertops over existing countertops?
Usually no. The old top comes off so cabinet level and mounting can be verified underneath. Overlay, epoxy coating and tile-over systems exist, but added height can strand the sink rim, break backsplash lines and squeeze appliance clearances.
Are countertops glued or screwed down?
Both, depending on material. Laminate and butcher block are screwed from below through cabinet corner braces or angle brackets. Stone and solid surface are set in beads of construction adhesive or silicone, never screwed through the slab.
Do cabinets need to be level before installing countertops?
Yes, and this is not optional. Shim until a 4 ft level reads flat in every direction. An out-of-level run opens seams, binds drawers and can crack a stone top over time.
Do you install the backsplash before or after the countertop?
After. The counter goes in first so the backsplash can sit on top of it and the joint can be caulked. Tile backsplashes are set last, once the counter is fastened and the sink is back in.
Do you need a permit to replace a kitchen countertop?
Swapping a countertop alone typically does not require a permit. Moving plumbing, adding a sink location or altering electrical often does. Confirm with your local building department before you start.
What is the hardest part of installing a countertop?
Scribing the back edge to a wavy wall and cutting the sink opening without cracking a corner. Everything else is measuring and fastening.
---
This guide reflects field practice from the GS Design and Build remodeling crew, who install laminate, butcher block and fabricated stone tops in Bay Area kitchens year round. Questions about your layout? Contact us and send photos of your cabinet run.