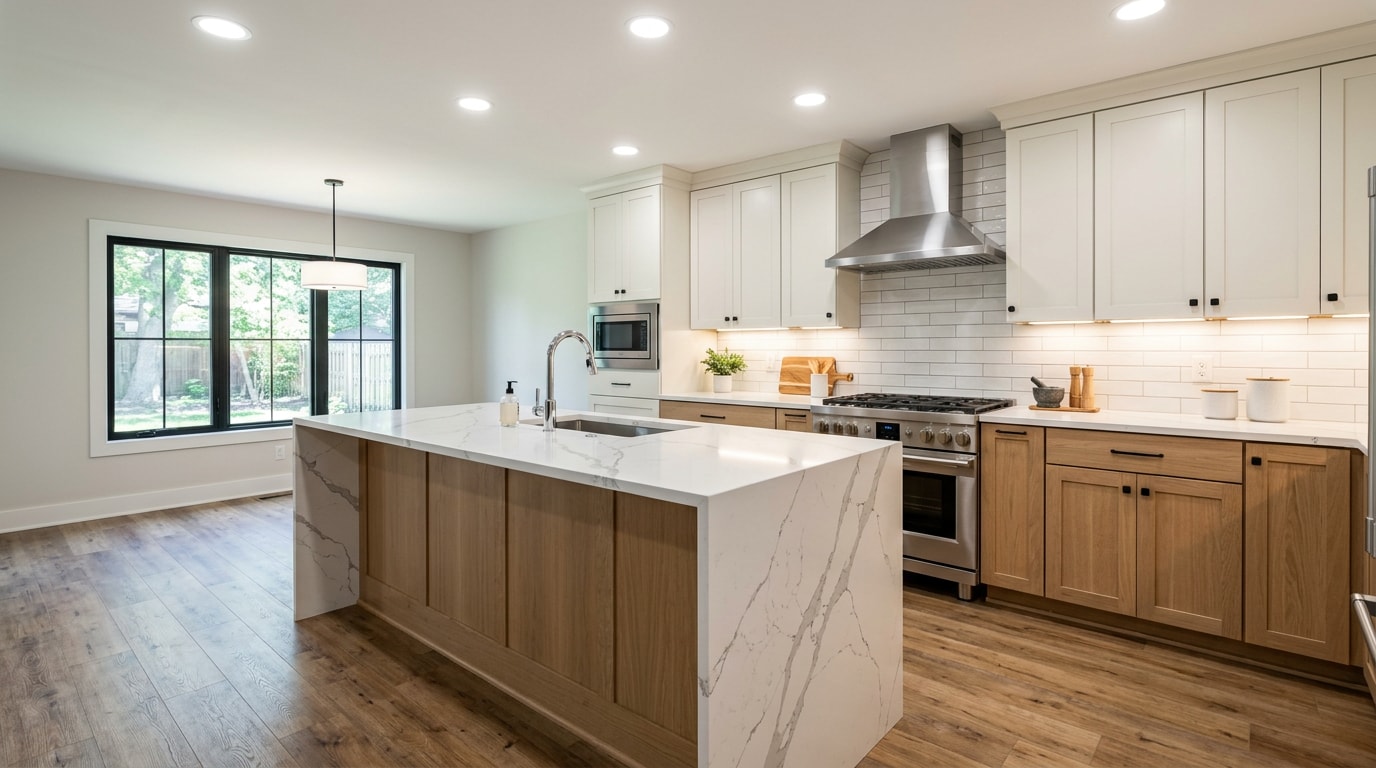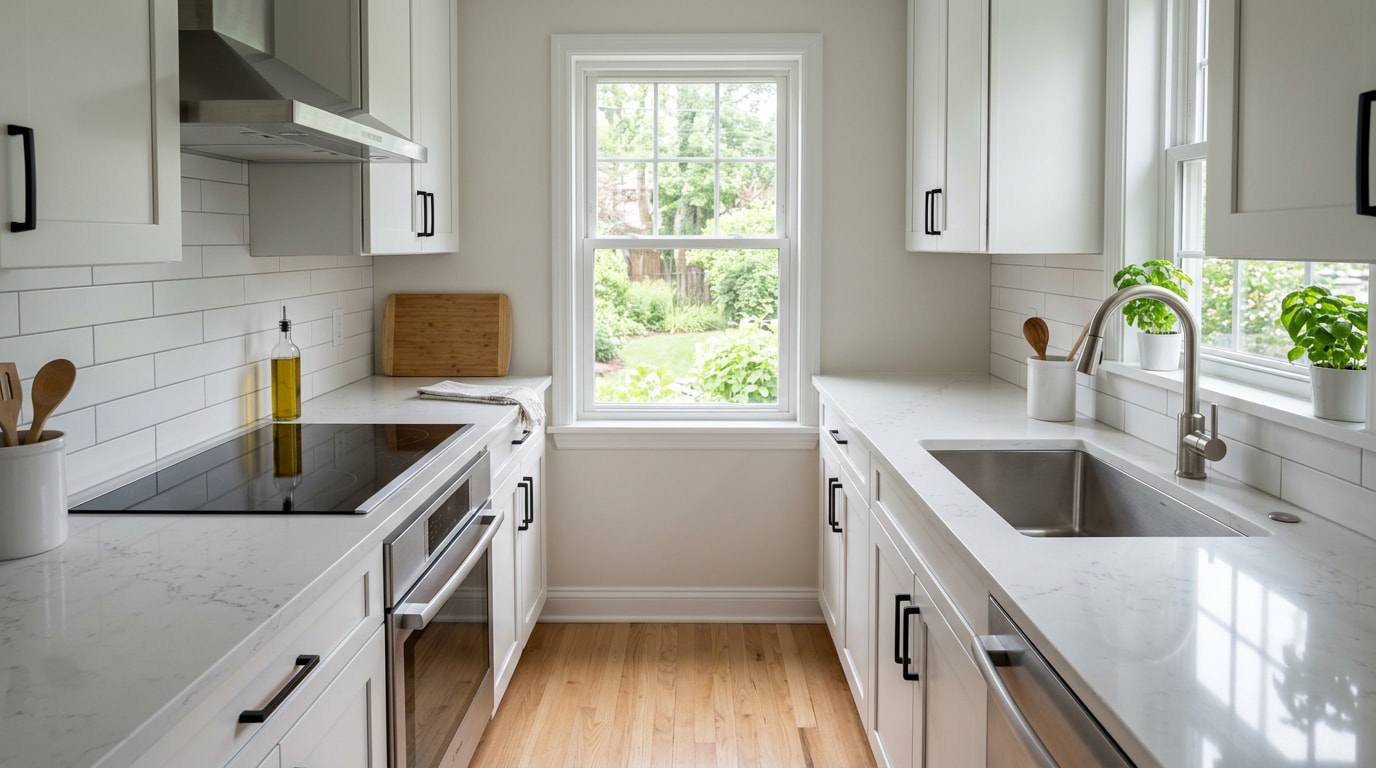
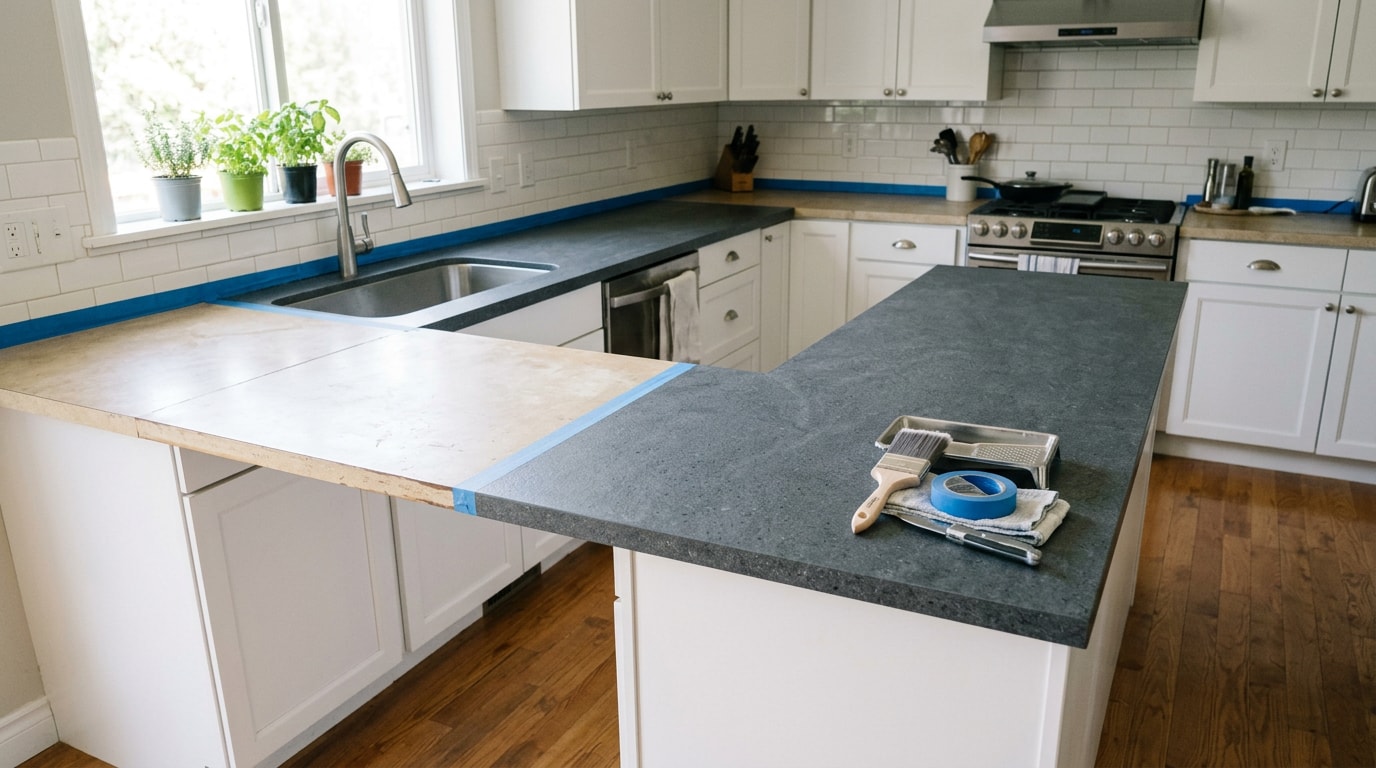
Learning how to change kitchen countertops without replacing them comes down to six methods, ranging from peel-and-stick film at a few dollars a square foot to sprayed professional resurfacing. Each one bonds to a different set of surfaces, costs a different amount, and fails in a different way. Pick the wrong one for your substrate and you will be scraping it off within a season, so start with what your existing counter can actually hold.
6 Ways to Change Kitchen Countertops Without Replacing Them
These run from cheapest and most reversible to most permanent. For each, you get the real cost, what it bonds to, and how long it lasts before the first repair.
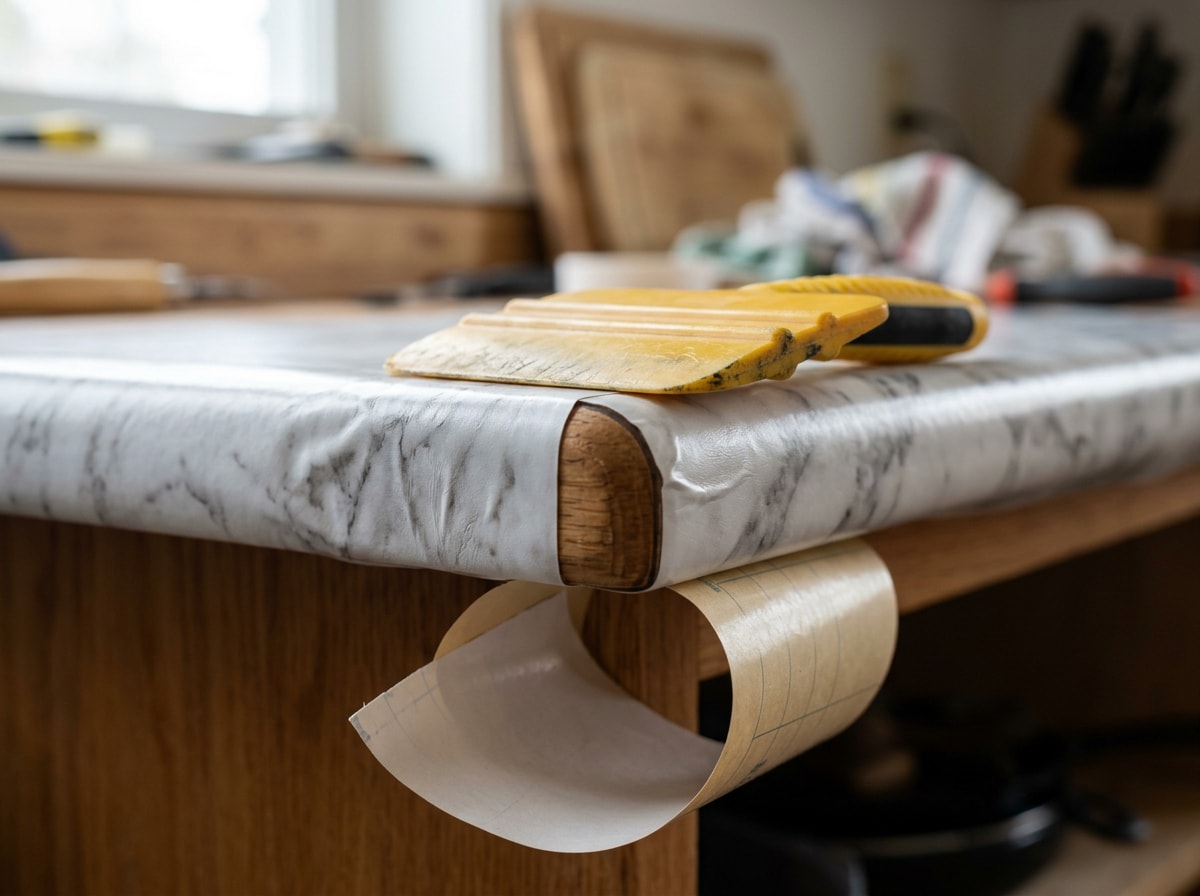
1. Peel-and-Stick Film and Contact Paper
Adhesive vinyl is the fastest and most reversible option. No sanding, no fumes, and it peels off when you move out.
The category splits in two, and most guides blur the line:
- Craft-store contact paper: roughly $20 to $40 for an average kitchen. Expect one to two years.
- Architectural-grade countertop film: roughly $9 to $12 per square foot. Thicker, better adhesive, removes without residue.
Application is simple but unforgiving. Degrease the surface, let it dry completely, dry-fit the sheet, then peel the backing a few inches at a time. Use a squeegee in fan-shaped motions to smooth the film and push out air bubbles , working from the center toward the open edge.
Two spots fail first: the sink cutout edge, where water wicks under the film, and the front bullnose, where vinyl has to stretch around a curve. Wrap both generously and seal the cutout.
Keep film away from the range, since heat softens the adhesive. Never cut directly on it. This is the one genuinely renter-friendly choice on the list.
2. Countertop Paint
Paint is cheap, available everywhere, and completely dependent on prep.
Two-part epoxy paint cures hard and resists water and stains, which makes it the stronger pick for laminate. Acrylic products are easier to brush but need a quality topcoat to survive daily use.
Surface prep is the whole job:
- Scuff-sand to kill the gloss.
- Vacuum the dust, then wipe with a tack cloth.
- Degrease thoroughly with a strong cleaner.
- Prime with a bonding primer rated for laminate.
Skipping the degreasing step is the most common reason a painted counter peels within months. Cooking oils migrate across laminate, and no coating bonds to oil.
Ventilate while you work. Paints, strippers and solvents are a major household source of volatile organic compounds, and concentrations of many VOCs run consistently higher indoors than outdoors , which is why the EPA's guidance on VOCs and indoor air quality recommends extra ventilation while using these products.
Also watch the difference between "dry to the touch" and fully cured. A counter can feel dry in hours and still need several days to reach full hardness. Until the manufacturer's cure window closes: no hot pans, no cutting, no appliances parked on the surface.
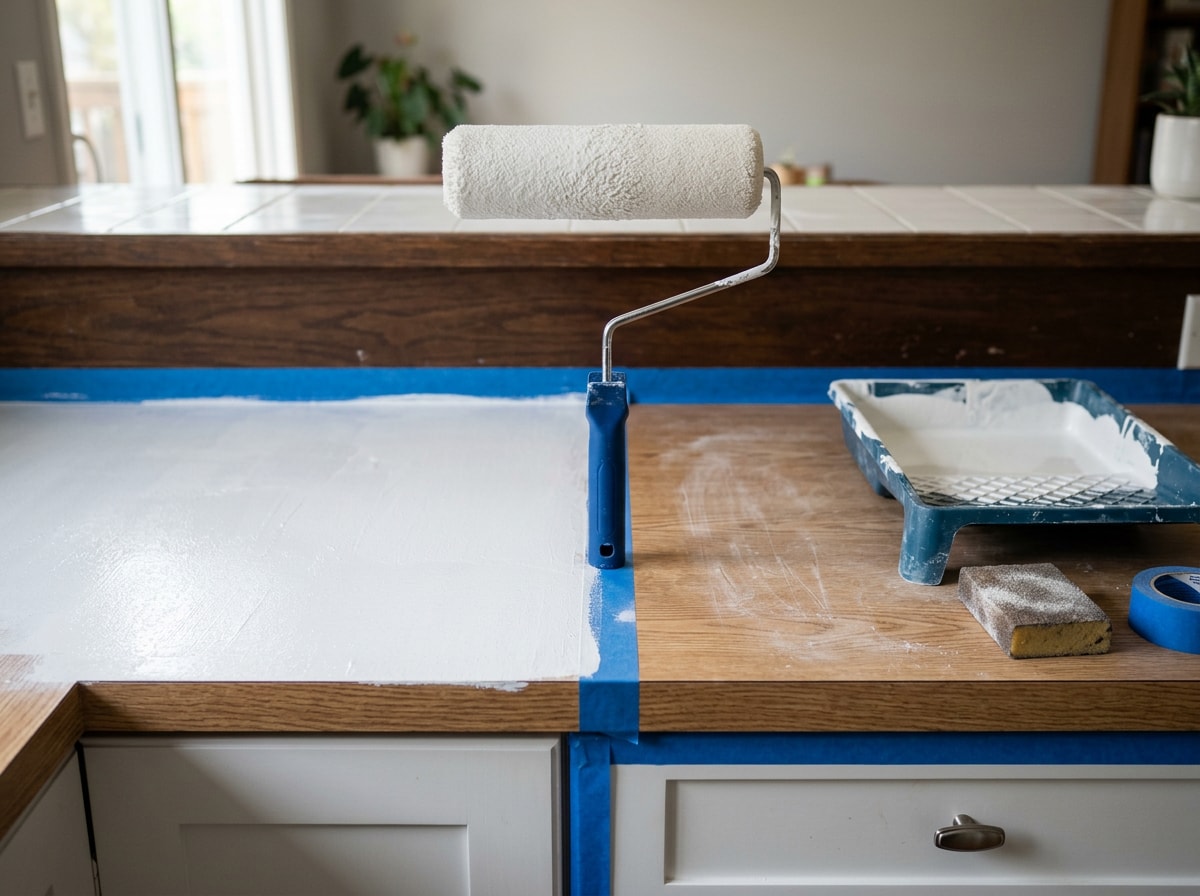
3. Epoxy and Stone-Look Refinishing Kits
A refinishing kit is the step up from plain paint. These kits bundle a base coat, decorative chips or mineral crystals and a thick epoxy or urethane topcoat, and they work well over laminate, cultured marble or tile. Faux granite and marble-vein versions are the most common.
Epoxy earns its reputation honestly. The cured film is hard, heat-tolerant and water-resistant.
It is also messy, and the mix ratio is not negotiable. Off-ratio epoxy stays tacky forever. Expect visible scratches in prep zones and some yellowing where direct sun hits it, which matters if your counter sits under a bright south-facing window.
On food safety: a fully cured coating is generally inert, but "cured" and "cleared for food contact" are different claims. FDA 21 CFR 175.300 covers certain resinous and polymeric coatings used as food-contact surfaces, and compliance is not a blanket approval of every epoxy product, because formulation, mixing, cure conditions and intended use all matter. Read the manufacturer's exact wording against the federal rule on resinous and polymeric coatings, and use a cutting board either way.
4. Tile Over the Existing Counter
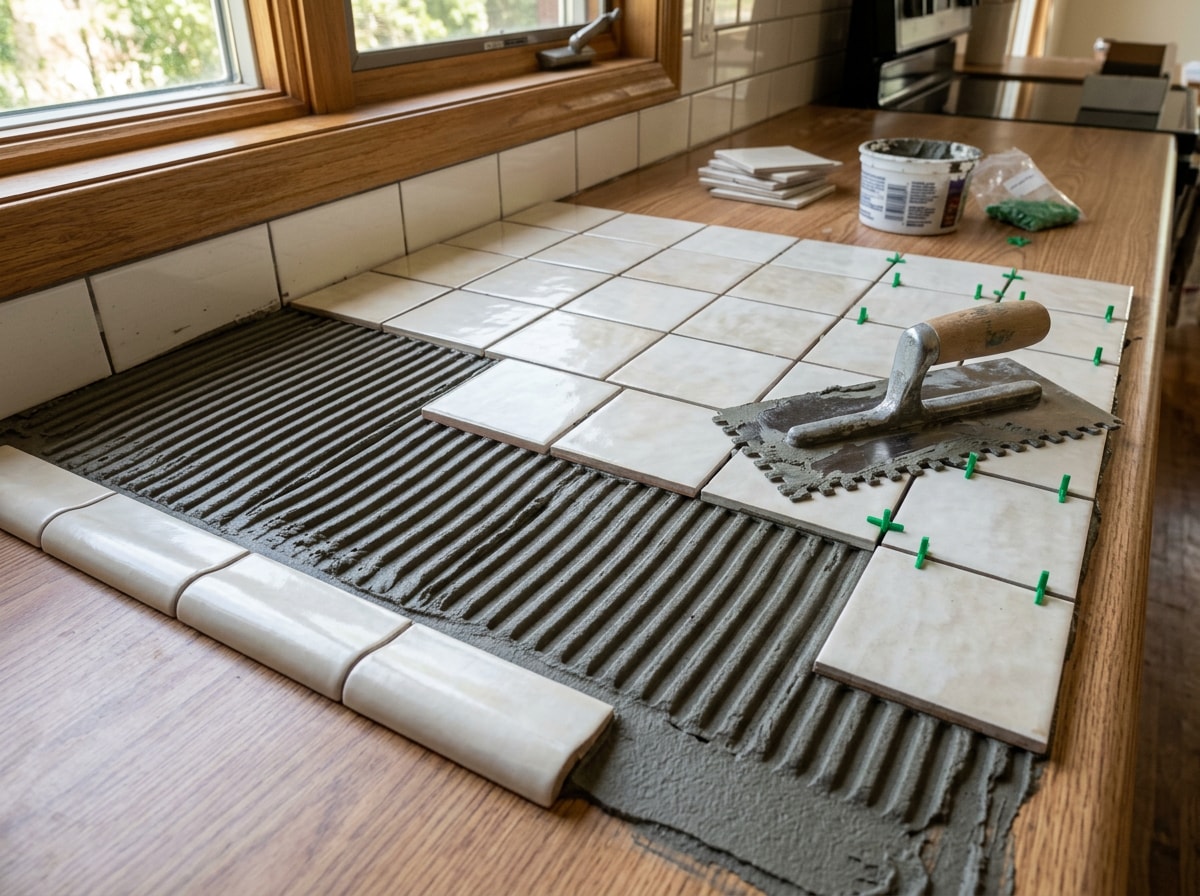
Tile is the durable middle option. It works over laminate in good condition and asks for real prep, thin-set mortar and some patience.
The sequence: scuff and clean the existing top, trowel thin-set across the surface, set tiles into the mortar bed following your layout, then grout once everything has cured. Edge trim or bullnose pieces finish the front.
Porcelain is dense and resists impact damage well, while ceramic is less resilient and can crack if something heavy lands on it. If you want to do this to code rather than by feel, countertop installations have their own numbered methods in the handbook published by the Tile Council of North America, the industry's standards body.
Two costs nobody mentions:
- A tile overlay raises counter height by roughly half an inch, which can bind a dishwasher under the lip or leave a lip at the sink rim.
- Grout lines need sealing and periodic scrubbing, and they will show every coffee spill until you do.
5. Concrete Skim Coat
A concrete skim coat is not a poured slab. It is a thin feather finish troweled over the existing surface in several passes, sanded flat between coats. Most microtopping products build in layers a millimeter or two thick.
It is affordable for the high-end look it delivers and genuinely DIY-friendly, but getting an even surface takes practice. Make a sample board before you touch the real counter.
Seal it properly once cured. Raw concrete stains from wine, oil and citrus almost immediately. Hairline cracks are the main risk, and they appear over any substrate that flexes.
6. Professional Resurfacing
If DIY is not worth your weekend, professional resurfacing is the most durable route short of a new slab. Refinishers use industrial bonding agents and hard coatings applied with spray equipment, which produces a finish no brush-on kit matches.
Resurfacing is commonly quoted at a fraction of replacement cost, and most shops back the work with a written warranty. Acrylic spray resurfacing is not a DIY method, because the chemicals and ventilation requirements rule it out.
Ask any refinisher four questions before signing:
- How long is the warranty, and what voids it?
- How long until the surface is fully cured?
- Can we use the kitchen the same day?
- What happens at the sink rim and the seams?
If you would rather hand it off, our kitchen countertop installation) team quotes resurfacing and replacement side by side so you can compare the two in writing. Get a free estimate and we will tell you honestly which one your counters justify.
Cost, Lifespan and Durability Compared
| Method | Typical cost (2026 planning range) | Expected lifespan | DIY difficulty | Renter-friendly | Heat and stain resistance | Bonds to |
|---|---|---|---|---|---|---|
| Contact paper | $20 to $40 total | 1 to 2 yrs | Easy | Yes | Poor | Laminate, smooth wood |
| Architectural film | $9 to $12 per sq ft | 5 to 10 yrs | Moderate | Yes | Fair | Laminate, cultured marble |
| DIY paint kit | $70 to $150 | 3 to 5 yrs | Moderate | No | Fair | Laminate, wood, tile |
| Epoxy kit | $150 to $350 | 5 to 10 yrs | Hard | No | Good | Laminate, tile, cultured marble |
| Tile overlay | $8 to $20 per sq ft | 15+ yrs | Hard | No | Excellent | Laminate, wood, old tile |
| Concrete skim coat | $100 to $300 | 10+ yrs | Hard | No | Good once sealed | Laminate, tile, wood |
| Pro resurfacing | Fraction of replacement cost | 10 to 15 yrs, warranty-dependent | Pro only | No | Excellent | Laminate, tile, cultured marble |
Treat every number above as a planning figure and re-price it locally. Material and labor pricing has moved every year since 2020, and Bay Area labor sits well above national averages.
For the other side of the comparison, our breakdown of the cost to replace kitchen countertops gives you the slab-and-install number to measure these options against.
Read the substrate column before the price column. It decides more outcomes than money does, and almost nothing bonds reliably to polished granite.
The 10-Minute Test to Run Before You Buy Anything
Do this before you spend a dollar. It takes less time than a trip to the store.
- Press test. Push hard around the faucet, the dishwasher, and the sink corners. Any flex, soft spot or crunch means the particleboard core is wet.
- Smell test. Open the sink cabinet and smell the underside of the deck. Musty means moisture, and moisture means no coating will hold.
- Seam check. Run a fingernail along the laminate seams and the backsplash joint. Lifting edges will telegraph through film, paint and epoxy alike.
- Tape test. Scuff a hidden patch, prime it, let it dry, then press painter's tape down firmly and rip it off. Primer coming up with the tape means your prep or your product is wrong.
- Level check. Lay a 4-foot level across the span. A dip over a quarter inch will read as a wave in any thin coating and will crack a skim coat.
Fail two or more of those and skip straight to a kitchen remodeling plan with a new top. Coatings cover ugly. They do not cover broken.
Where These Finishes Actually Fail First
This is the part DIY roundups leave out. Across the resurfaced kitchens our crews have inspected and rebuilt around San Jose, Palo Alto and Redwood City, the failures almost never start in the open field of the counter.
They start in three places:
- The sink perimeter. Standing water and a 150-degree dishwasher vent attack the same inch of edge every day.
- The front bullnose. Hips, drawer pulls and bag corners hit it constantly, and that curve is where film stretches thinnest and coatings build thinnest.
- The seam at the backsplash. Splash water sits in that joint and wicks backward under the finish.
So overbuild those three zones. Double-wrap film at the cutout, run an extra coat of epoxy along the front edge, and caulk the backsplash joint with a kitchen-grade silicone after everything cures.
One more field note: a cover-up finish is a cosmetic repair, not a plumbing one. If the faucet or sink basin leaks, fix that first. Otherwise you will be redoing the counter twice.
When Replacement Is the Better Call
Choose a new top instead of a cover-up when:
- The substrate is swollen, soft or delaminating.
- You are also moving the sink, the cooktop or a wall.
- The counter will be part of a sale within a year and buyers will be touching it.
- You want stone, quartz or sintered surface and nothing else will satisfy you.
If you are already pulling cabinets or tile, resurfacing stops making sense. Browse completed projects to see where that line usually gets drawn, or start at our home page for the full scope of what we build.
FAQ
Can you really change kitchen countertops without replacing them?
Yes, as long as the existing top is dry, flat and firmly attached to the cabinets. Common approaches include specialty countertop paint, epoxy or stone-look resurfacing kits, thin laminate or tile overlays, and concrete skim coats. Replacement only becomes mandatory when the counter has failed mechanically.
What is the cheapest way to redo kitchen countertops?
Contact paper, at roughly $20 to $40 for an average kitchen. Plan on one to two years before it curls or stains at the sink. Architectural-grade film costs several times more and lasts several times longer.
What is the most durable way to cover countertops without replacing them?
Professional spray resurfacing, backed by a written warranty, is the most durable option overall. The most durable DIY option is a tile overlay set in thin-set mortar, which outlives every brush-on finish.
Can you tile over laminate countertops?
Yes, if the laminate is sound and well attached. Scuff the surface, set the tile in thin-set mortar, then grout. Remember the finished top sits about half an inch higher, so check your dishwasher clearance and sink rim first.
How long does countertop refinishing last?
DIY epoxy and paint kits typically give 3 to 10 years depending on prep and use. Professional resurfacing is generally quoted in the 10 to 15 year range with a warranty. Daily cutting-board discipline and no hot pans directly on the surface roughly double the life of any of them.
Is it cheaper to refinish or replace countertops?
Refinishing is almost always cheaper up front, often by a wide margin, because it avoids demolition, plumbing disconnects, backsplash repair and haul-away. Replacement wins on lifespan and resale appeal. Get both quotes in writing before deciding.
Can you paint or coat granite countertops?
Not reliably. Polished granite gives a coating almost nothing to grip, and most products will chip at the edges within months. Change the cabinets, backsplash, hardware and faucet instead, and leave the stone alone.
Is epoxy countertop coating food safe?
Only if the specific product's manufacturer documents it for food contact after full cure. Never treat partially cured epoxy as a food-contact surface, and use a cutting board on any coated counter regardless of the label.
Will a resurfaced countertop hurt resale value?
A clean, well-executed resurfacing reads as a tidy kitchen and is unlikely to hurt. A peeling film at the sink reads as deferred maintenance and will. If you are listing soon, either do the work properly or budget for a real replacement.
How do I update a kitchen without touching the countertops at all?
Repaint the cabinets, replace the backsplash, swap the hardware and upgrade the faucet. Those four changes reset the room and leave your existing counters in place. Cabinet painting and backsplash installation are the two that move the needle most for the money.
Written and reviewed by the kitchen team at GS Design and Build, licensed general contractors remodeling kitchens across the San Francisco Peninsula and South Bay. Questions about your own counters? Send us photos and get a free estimate and we will tell you whether a cover-up will hold.